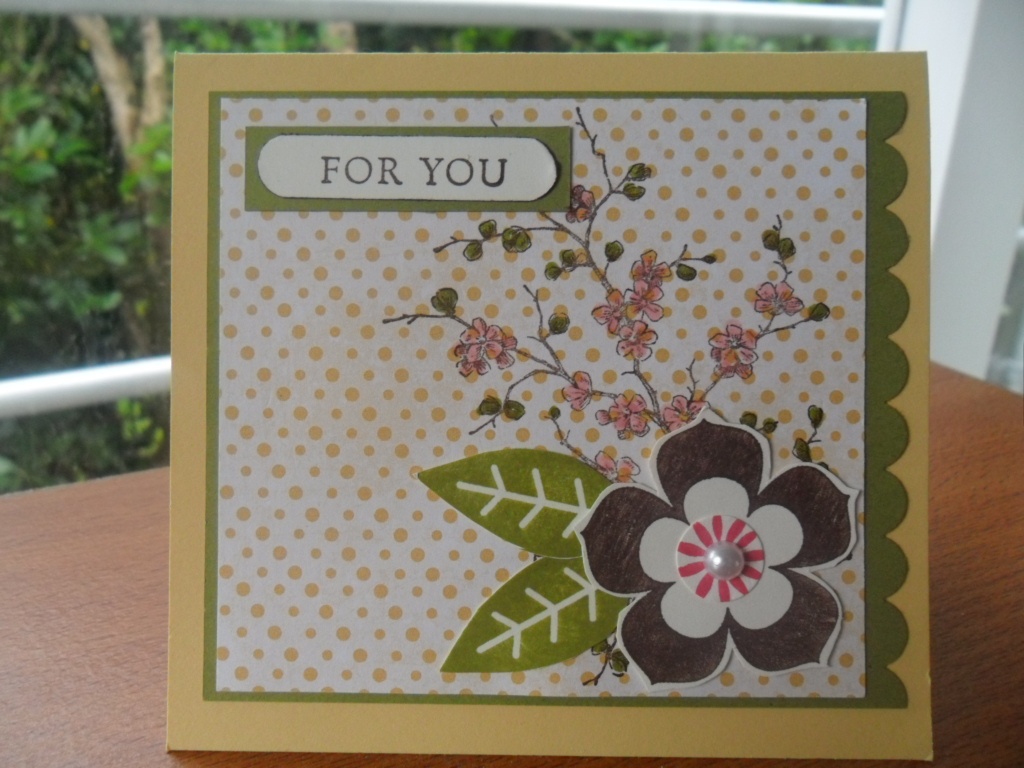
Showing posts with label Easter Blossoms. Show all posts

Friday, November 4, 2011

Emboss Resist Birthday

I had this idea in my head about how this card would work out but it wasn't quite to be - I don't think the clear embossing was thick enough as I was visualizing quite a contrast between the black and white embossed images, but I still like the end result.


What I used:

Card:  White, Rose Red, Old Olive

Ink: Versamark Watermark ink, Rose Red, Old Olive, Basic Black

Stamp Sets: Easter Blossoms, Sincere Salutations

Tools and other fun stuff:  Top Note die, Vintage Wallpaper EF, Clear embossing powder, black embossing powder, 1/4" white grossgrain ribbon, square rhinestone brad, stampin' sponges.

Monday, August 15, 2011

Samples of soon-to-retire products - Petal Pizazz

Just thought I'd show you some samples of cards I made with the Petal Pizazz set which retires at the end of the month.


If you love bold coloured images this set is for you!  I've loved using it and am sad it is retiring, but on the bright side there will be lots of new sets to fall in love with in the new catalogue due out on 1st September.


Another update on sold out products from the Last Chance list:

  1. Stamp: Sanded
  2. Stamp: Full Calendar
  3. Stamp set: Garden Whimsy
  4. Stamp set: Choo choo 
  5. 12"x12" Card:  Bashful Blue
  6. 12"x12" Card:  Rich Razzleberry
  7. 12"x12" Card:  Chocolate Chip
  8. 12"x12" Card:  Crumb Cake
  9. 12"x12" Card:  Very Vanilla
  10. 12"x12" Card:  Early Espresso
  11. 12"x12" Card:  Night of Navy
  12. 12"x12" Card: Marina Mist
  13. Punch:  Spiral
  14. Punch: Corner
  15. Punch: Large Star
  16. Punch: 1 3/8" x 5/8" Oval
  17. Embellishments:  Pewter Jumbo Eyelets
  18. Embellishments: Antique Brass Jumbo Eyelets
  19. Embellishments: Metallic Eyelets

If there is anything you need to purchase before the retire/sell out please get in touch with me as soon as possible.


Sunday, April 3, 2011

Make and takes

I held my first stall at a school fair yesterday and it was a very interesting experience!  Sold a few cards, had a couple of leads, I enjoyed it.  (My typing is a little limited today so this will be brief!)

Here are the 'make and takes' I made for this occasion.


What I used:

Card:  Cherry Cobbler, So Saffron, Very Vanilla

Ink:  Old Olive, Pumpkin Pie, Cherry Cobbler

Stamp sets:  Petal Pizazz, Teeny Tiny Sentiments, Butterfly Prints, Easter Blossoms (from Summer Mini)

Tools and other fun stuff:  Scallop Circle punch, Butterfly Punch, Large Oval punch, Scalloped Oval punch, Vintage Wallpaper embossing folder, Basic Pearls, Rhinestones.

Tuesday, February 8, 2011

Another thank you card

I was in need of a couple of thank you cards hence yesterday and today's posts - little 'Emily' once again has become the focus of today's card.


What I used:

Card:  White, So Saffron, Riding Hood Red

Ink:  So Saffron, Riding Hood Red.

Stamp Sets:  Eastern Blossoms, Sincere Salutations

Tools and other fun stuff:  Vintage Wallpaper embossing folder, Scallop Border punch, Scalloped Oval punch, Wide Oval punch, Stampin' Dimensionals, Stampin' sponges.

Monday, February 7, 2011

Navy and Red thanks

I had a reasonably quiet week in the crafting department last week so this morning I decided I'd try a new technique that was showcased in one of Stampin' Up!s demonstrator magazines a couple of months ago, called "Faux Silk".  I used the latest Clean and Simple sketch as my inspiration.


It involves stamping an image on tissue paper, crumpling,  smoothing, glueing, etc.  I think the tissue I chose was a little too fine as you can barely see it, but still, it was good to try it out.  I've attached photos of the process as well in case you were interested in trying it.  I will definitely try it again but with gift wrap tissue which is slightly thicker than what I had on hand this morning.

Do you know I've given this little girl a name?  It just seemed a little sad to be referring to her as 'the little girl' so from now on she will be knows as Emily on my blog!  Don't ask me why I chose that name, it just popped into my mind, slightly old-fashioned perhaps?  She looks like an Emily to me anyway LOL!  And don't worry, I won't be naming all my other stamps!

 First stamp your image on tissue and prepare a base for it to be glued to.
 Crumple up your stamped tissue paper.
 Smooth it out, but not too much, you want those wrinkles, really!
 Roughly cut it to size, allowing for an overhang to tuck around the back
 Apply glue to the base with your glue stick - I have sponged around the background with Riding Hood Red - just experimenting, again!
 Carefully lay the image on the base and smooth it out - I think this is where I went wrong because I smoothed it out too much, removing all the wrinkles...
 When happy with the front, turn over and apply more glue with your glue stick to the back and start glueing down the overhang.
 Finished back, no one will see this part!
Finished 'medallion' ready for your use.


What I used:

Card:  White, Night of Navy

Ink:  Riding Hood Red, Night of Navy

Stamp sets:  Easter Blossoms, Sincere Salutations

Tools and other fun stuff:  Stamp-a-ma-jig, glue stick, Stampin' Sponges, non SU circle and scallop dies/templates.

Friday, January 28, 2011

Silhouette notebook and decorated pen

My upline, Keryn Campbell, had a lovely project on her blog the other day where she decorated a notebook and pen with DSP and stamped images and I thought I'd give it a try too.   It looked really effective, here is my version.

I've learnt lots along the way this morning:

1.  Don't choose a DSP unless you have the matching inks and ribbons!  I thought I'd be frugal and use up some of last years Tea Party DSP only to find that what I thought was So Saffron and Bashful Blue turned out to be Apricot Appeal and Almost Amethyst!  Anyway, I stamped the image with Bashful Blue and the ribbon is So Saffron, and it turned out fine in the end after my initial panic.

2.  When sticking the DSP to the notebook cover don't pull it too tight otherwise the notebook will not close properly...

3.  Don't use a 'wet glue' to glue the DSP down - or your inside pages with become nice and wrinkled...

4.  I found inserting the DSP into the pen the easiest part of the entire project thanks to Keryn's very clear instructions.

5.  And finally, if you can find pens with caps that match your colours it would be so much better!

Anyway, here are a couple of photos of what I made.


What I used:

Card:  Almost Amethyst (Retired), White, Tea Party DSP (retired)

Ink: Bashful Blue

Stamp Set: Easter Blossoms

Tools and other fun stuff:  So Saffron 5/8" grosgrain ribbon (retired), Scallop Border punch.

Thursday, January 20, 2011

Vintage Love Letter

Hello again, well I finally figured out how to change the reactions on my post, now only have 'feel good' ones - well, it is my blog after all LOL!!

I've had a busy morning today, thought I would have got a little more done by now but can't really complain...

Here is today's card - followed a sketch this time from Stamping 411 which was quite straight forward so all's good.  Can you spot the difference???  Of course you can!  The first card looked a little naked so just had to add the greeting, now it's ready to give to someone!


What I used:

Card:  Riding Hood Red, Black, Very Vanilla, Love Letter DSP

Ink:  Riding Hood Red, Soft Suede

Stamp sets:  Easter Blossoms, Sincere Salutations

Tools and other fun stuff:  Large Oval punch, Scalloped Oval punch, Buttons #5 Sizzlits die, Stampin' Dimensionals, stamping sponges.

Monday, January 17, 2011

My first post

Well, welcome to my blog - I've been wondering for ages about starting a blog which allows me to show you what I do in my creative time, and perhaps more.... still not sure!

So to welcome you here is my first "blogged" card - this is so exciting!  I won't go into details on what I used or what I did in this instance - thanks for taking a minute to stop by and smell the roses!

Bye for now

Frances